Image
Introduction
The Simple Image macro provides a way to spruce up your images.
It provides the ability to change the shape of images, add borders and frames, as well as captions and mouse over effects. Additionally, it integrates with Unsplash, giving you access to over 3 million free high-resolution images you can easily embed in your pages.
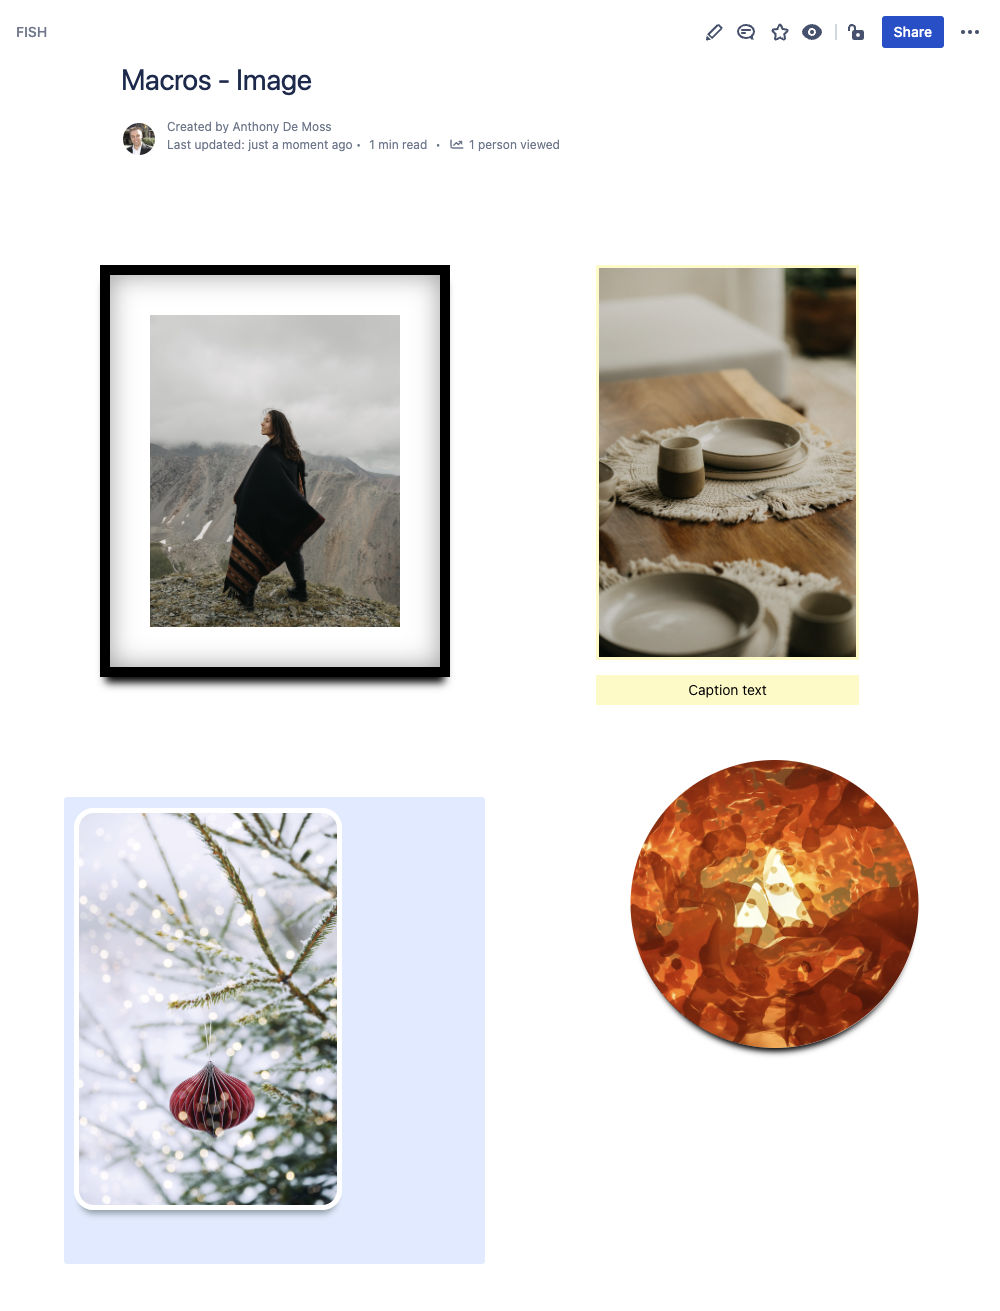
Example Images
Here you can see just a few examples of the different ways you can configure an image.
How to Insert or Edit the macro
To add the Simple Image macro to a Confluence page:
Use the macro insert menu "+" from editor toolbar, and select the Simple Image.
Alternatively, type '/' in the editor to trigger the macro insert suggestions and type 'Simple Image'.
Configuring the Macro
Once the macro is inserted, it will automatically trigger the configuration dialog, allowing you to customize the image.
The first screen you'll see in the Configuring dialog is the Template screen, where you'll find a collection of pre-made templates. These should give you a quick starting point for various different visuals. Selecting one of the templates will apply the settings for that template, with the results visible in the preview area in the middle.
If you want to further customize the image, navigate to the "Advanced Config" tab, where you can change virtually everything about the image.
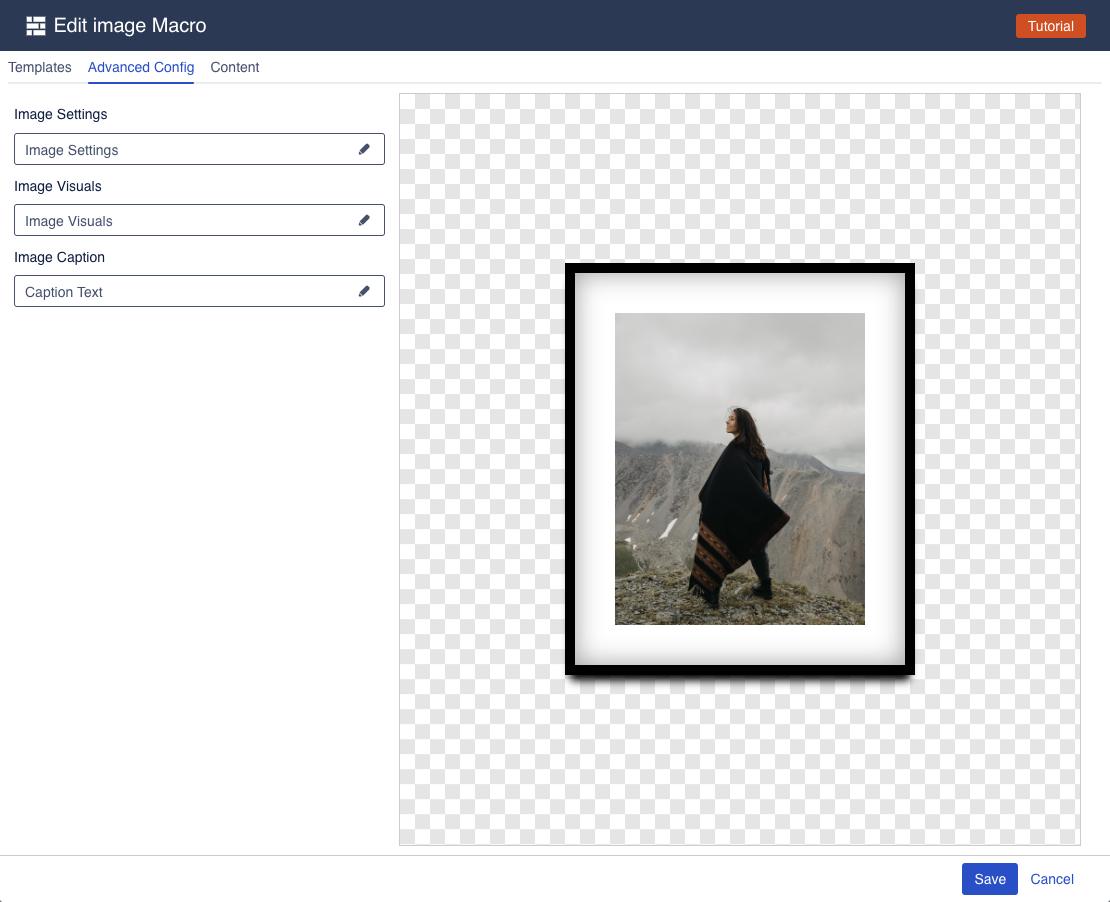
The advanced config is split into multiple groups, each of which has its own settings drawer. Click one of the fields to open a drawer and change the relevant settings.

Image Settings
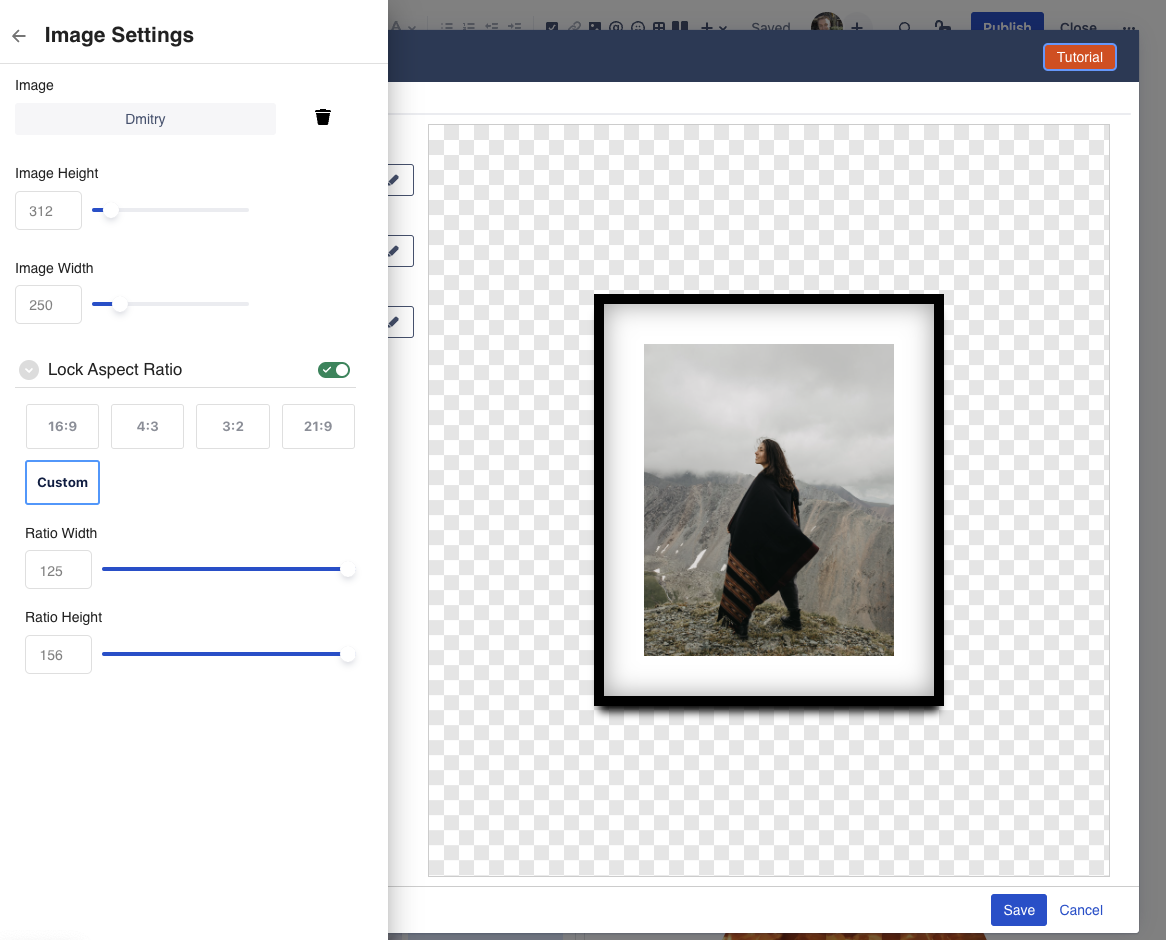
The image settings drawer allows you to change the image being shown, as well as set the size and aspect ratio of the image.
Most of the settings are pretty self-explanatory.
Image: the image field is a drawer in itself that opens an image picker. Below you can find more details about the Image picker
Image Height/Width: allows setting the height and width of the image.
Note that by default, you can set both dimensions independent of each other, which can result in a distorted image. This can be changed by enabling the aspect ratio lockLock Aspect ratio: when enabled, locks the aspect ratio of the image in place. Thus, changing the height will also change the width accordingly to preserve the aspect ratio
Aspect Ratio Height/Width: the aspect ratio of an image is the ratio of its width to its height. Changing these numbers adjusts the ratio, which will change how the image height/width changes
Image Picker
The Image picker drawer allows you to select an image to be used.
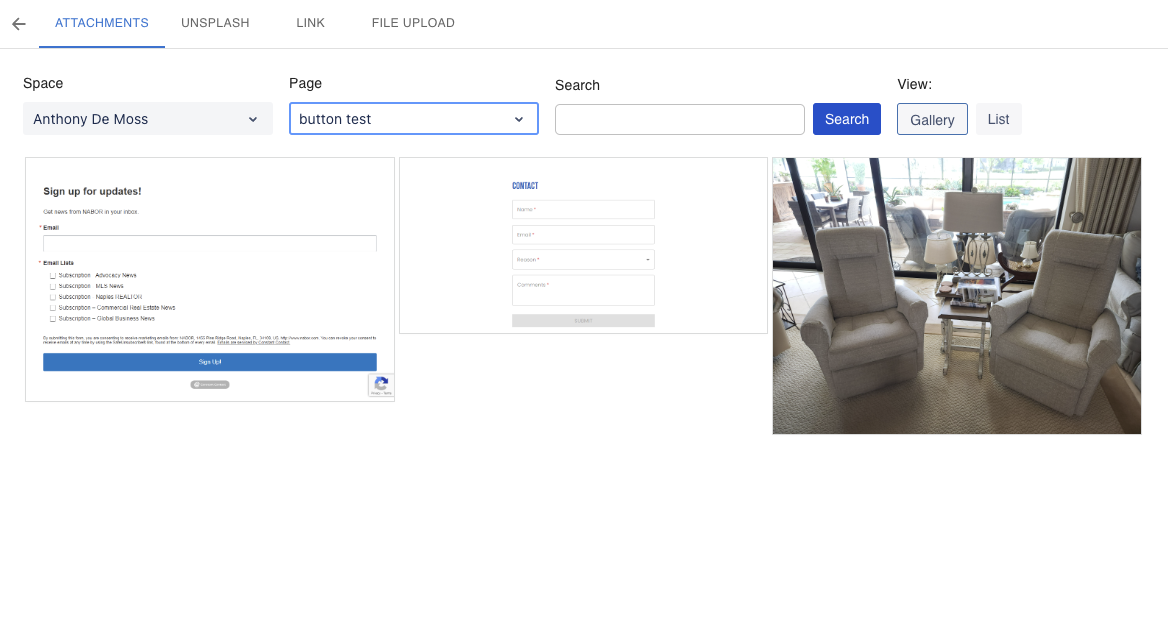
The image picker allows selecting an image from any space, as well as any page within any space.
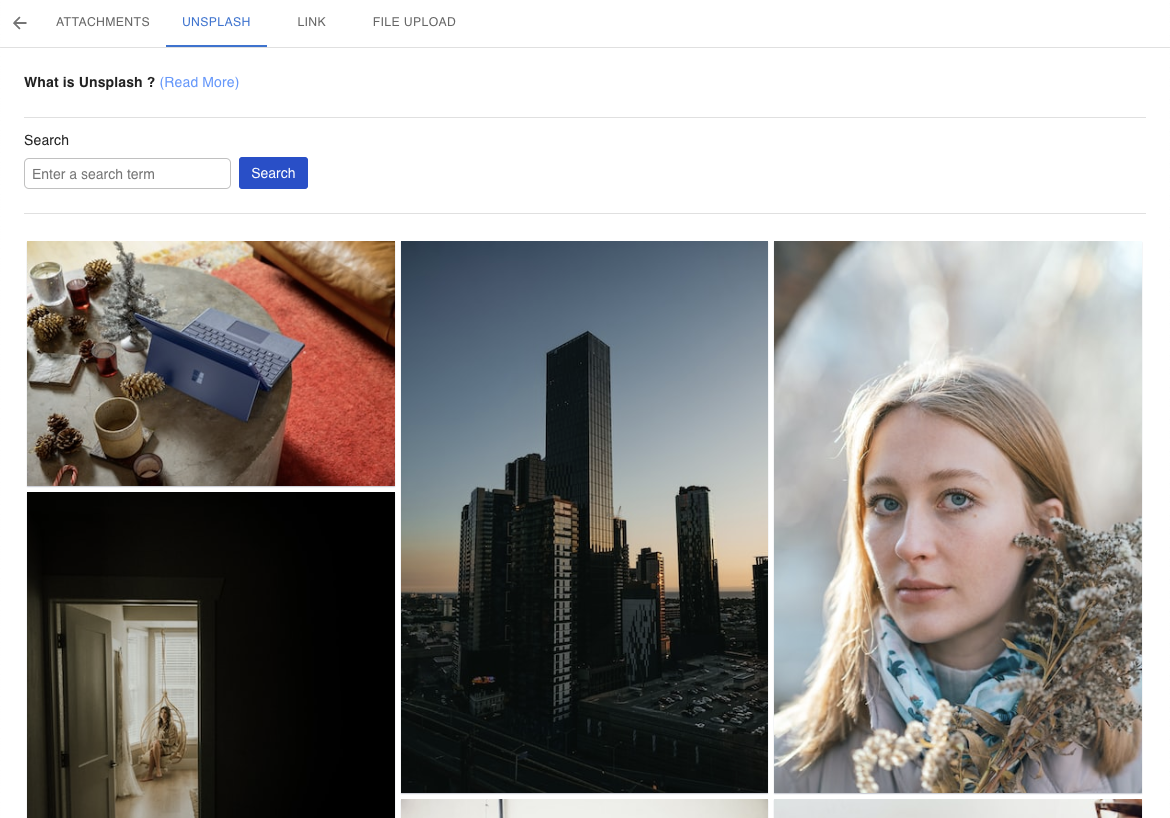
Alternatively, you can use the Unsplash tab to select one of over 3 million free high-resolution images.
If you want to use an image hosted elsewhere, you can also paste the url directly into the image url field within the Link tab.

Image Visuals
The image visuals drawer allows you to change the visuals/styling of the image.
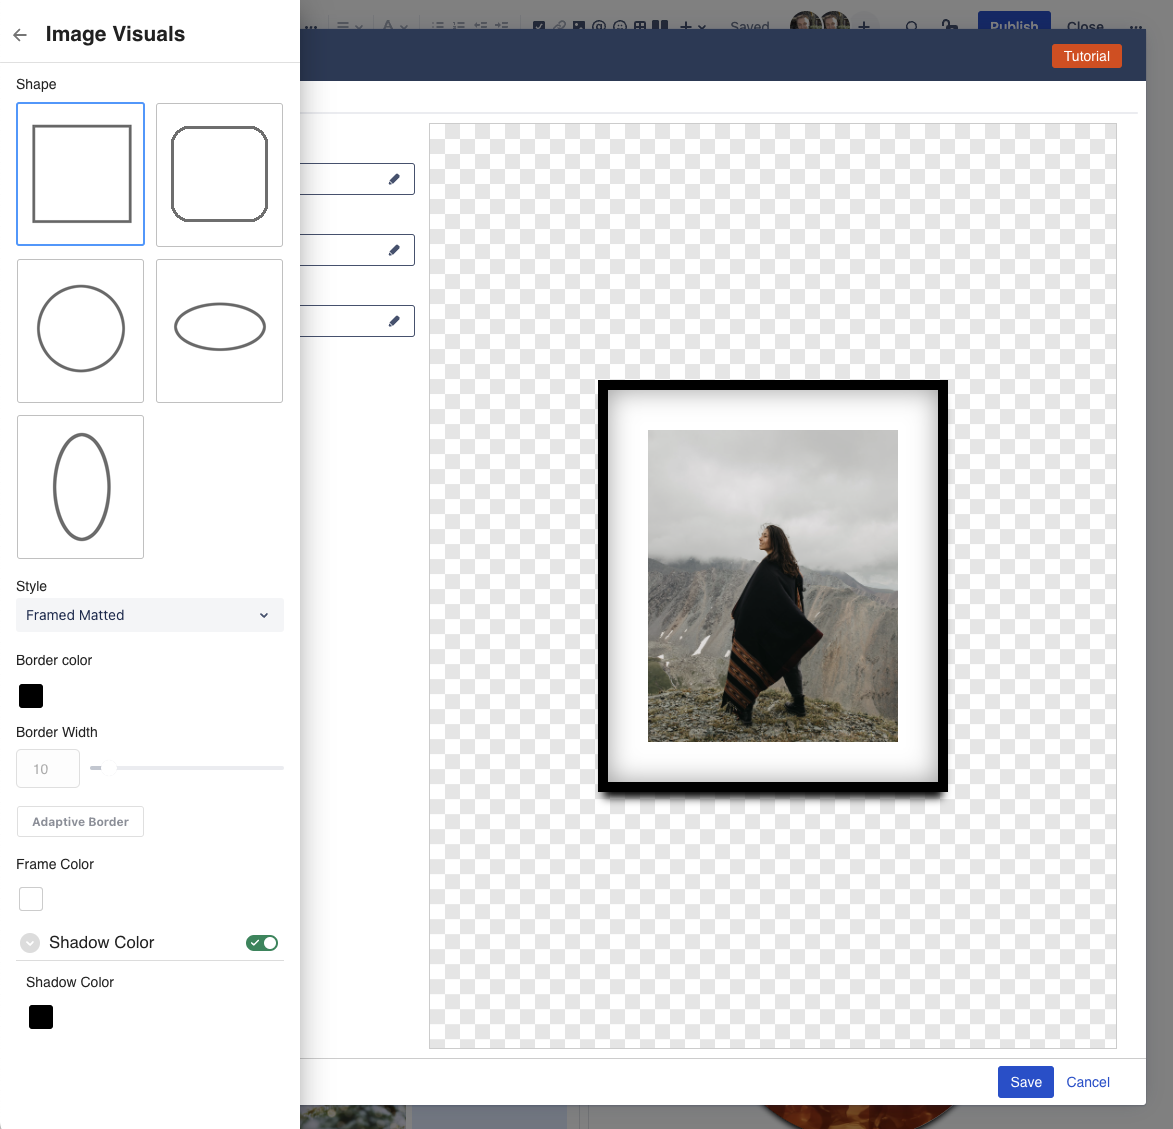
Shape: allows changing the shape of the image
Style: allows styling the image with a border, or a frame, or as a polaroid
Border Color / Border Width: depending on the style chosen, you can set the border color and border width for the image
Frame Color: if a style is chosen that provides a frame around the image, you can use this setting to change the frame color
Shadow: when enabled, adds a drop shadow to the image in a color of your choice
Image Caption
The image caption drawer allows you to add a caption text to an image.
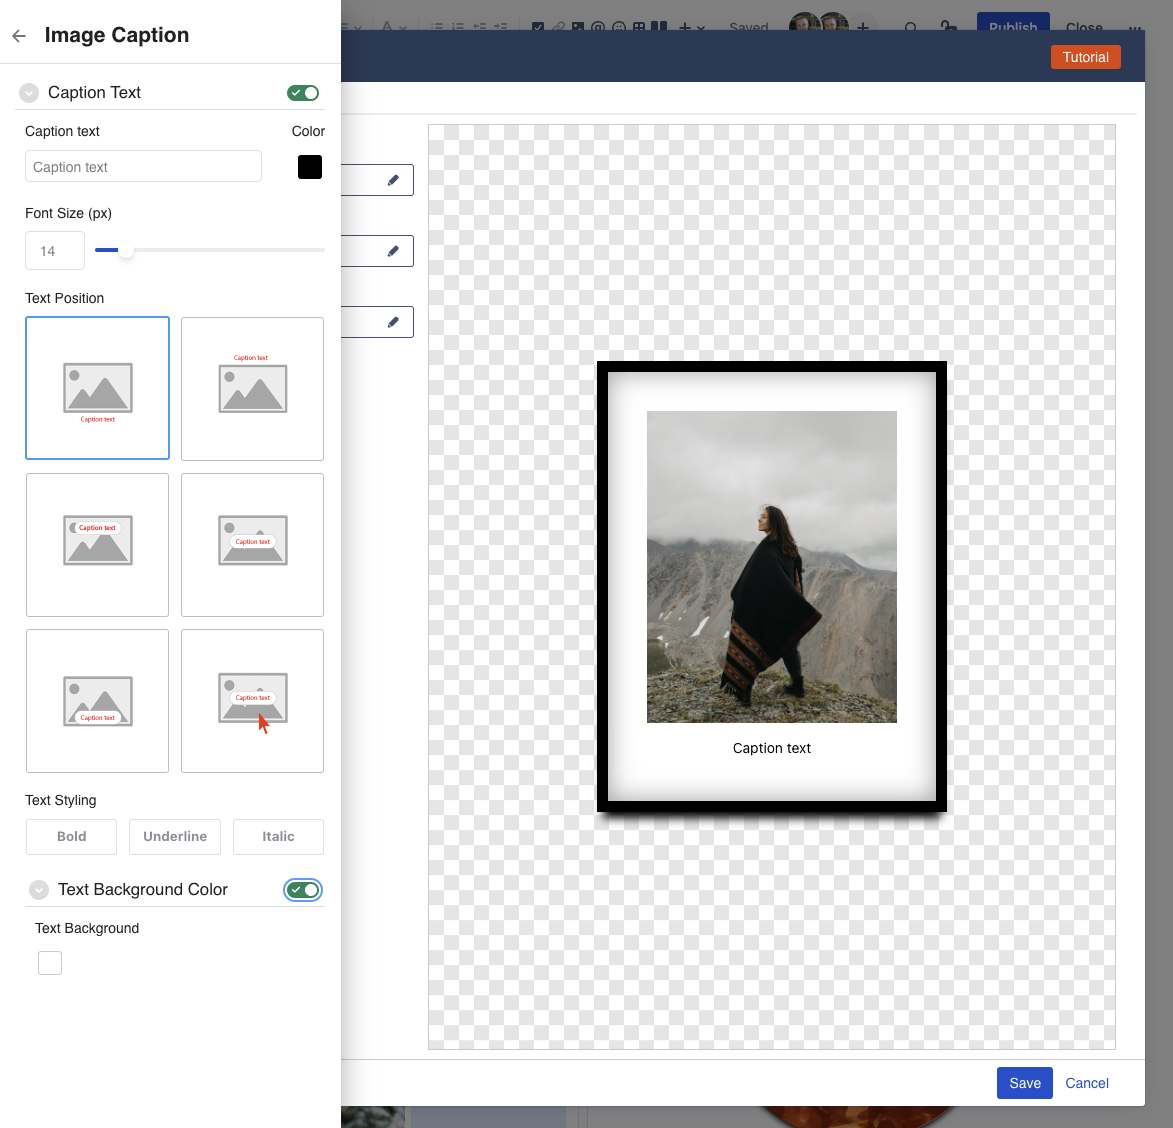
The Image caption is optional. You can enable/disable it using the toggle switch.
Caption Text: set the actual caption text
Color: change the color of the caption text
Font Size: change the size of the caption text
Text Position: configure where the caption text should be shown
Text Styling: add some basic styling to the caption text
Text Background: add a colored background to the caption.
This can be useful to make the caption text more visible when it is shown on top of the image.
How to Edit or resize the macro
To edit an image macro in a page, click on the image macro, and then click on the edit (pencil) icon.
This will launch the Configuration dialog, with the "Advanced Config" tab active.
Question: how can I resize an image?
Unfortunately, 3rd party Confluence macros like ours don't have access to the same fancy resizing mechanism that the standard Confluence Image has. As such, we can't offer the same convenient drag & drop resizing. You will have to edit the image macro and change the height/width within the image.
Compatibility with other Macros
The Simple Image macro is compatible with most built-in Confluence macros that allow you to place other content inside of it.
This means, you can put a button into a Columns/Layout macro, or a standard Panel, or bulleted list, or a table, etc.
Limitations
Confluence macros created by vendors like us do not get access to same advanced macro features as standard Confluence macros. As such, the Simple Image macro does not support Drag & Drop resizing, or the Wrap left/right functionality that allows text to flow around the image.